
We’ve collected a plethora of wonderful recipes from chefs over the past 8.5 years and we want to share what we have. Check back here twice a week for new content from your favorite Philly and out of town chefs to add some spice to your home cooking repertoire.
If you have a moment, please head to the following websites to see how you can donate or take action to help support our beloved Philadelphia dining scene. We look forward to seeing you all again soon.
Save Local Restaurants / Save Philly Eats
Believe it or not, making sushi at home is surprisingly easy. With the right utensils and some patience to get acquainted with the techniques, all it takes is practice and, in no time at all, sumptuous at-home sushi awaits! Matt Kemp of Shoon Sushi has worked and trained with Japanese chefs across the country and locally worked at Morimoto. Matt has been one of our g0-to instructors when it comes to sushi making, and we’re happy to share his method for inside out maki. If you are looking for sushi grade fish, check out Giuseppe’s Market at Samuels Seafood.
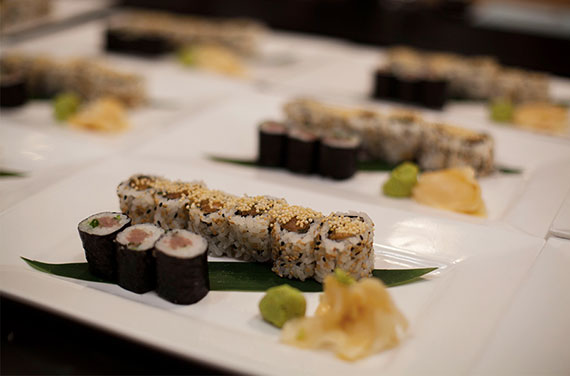
Inside Out Maki
Ingredients:
½ sheet nori (seaweed paper)
2-3 oz sushi rice (about the size of a lemon) – recipe below
toasted sesame seeds
prepared ingredients (examples: sliced avocado, cut cucumber, cut salmon, cut tuna, cooked crab)
wasabi, soy sauce, pickled ginger
Equipment:
makisu (bamboo rolling mat)
plastic wrap
bowl of cold water
sharp knife
Note: Matt’s instructions follow, but if you’d like to learn by watching a video, we found a great one here.
Wrap makisu in plastic wrap to prevent rice sticking and to make cleanup easier. Place a sheet of nori on top.
Wet fingertips in water. Just enough so they’re wet, but not dripping. Pick up a lemon sized ball of sushi rice. Take care not to compress it. The looser the rice at this point, the better. Spread the rice evenly across the top ¼ of the nori.
Starting from the right side and using both hands with fingertips bent, gently pull down the rice to the bottom of the nori. Your fingers should be straight when finished. Repeat this across the nori until it is evenly covered. Use gentle pressure when moving the rice. Think of it as moving the grains across each other, rather than smashing them into place. This will give you a better texture on the finished product. Once covered, sprinkle sesame seeds over the rice.
Flip over so that the rice side is down on the bamboo mat. Leave about an inch of space at the bottom of the mat. Place 2 to 3 different ingredients across the center of the nori. Don’t over pack, or it will come apart when cutting.
Keeping your fingertips in front of the ingredients, pull in while simultaneously lifting the makisu over the ingredients with your thumbs. Bring the edge of the makisu all the way over the ingredients so that the back edge of the nori touches the inside of the nori in front of the ingredients. From here, pull the makisu with your thumbs and index fingers to roll the top of the nori 90 more degrees. This will seal up the roll.
Shape the roll inside of the makisu into a square with your fingers and thumbs. Move the makisu to each side, maintaining shape, and push the ends to be flush. Remove the roll from the makisu. With the sealed side down, use a sharp knife to cut in half. Pull the knife through the roll as if you were slicing. Trying to push through it will result in smashing.
Place the halves next to each other with the end pieces to the same side. From here cut into thirds or quarters for either 6 or 8 pieces.
Serve with wasabi, pickled ginger, and soy.
***
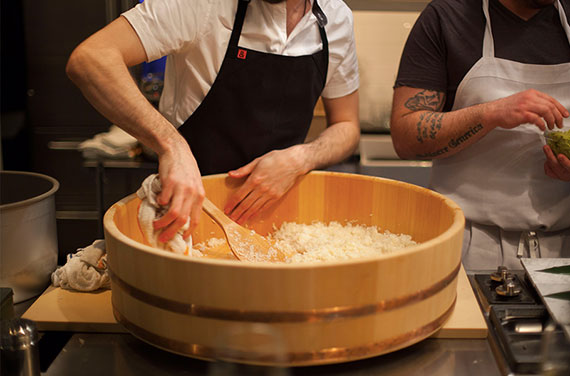
Sushi Rice
Ingredients:
2 cups short grain rice
2 ¼ cups water
1 tsp sake
Shari Su (sushi vinegar):
½ cup rice vinegar
2 tbsp sugar
1 ½ tbsp salt
2×2” piece kombu
Equipment:
3 qt sauce pot with lid
small sauce pan
mixing bowl
strainer
wooden or bamboo cutting board
wooden spatula
damp towel
Put all of the rice in a mixing bowl. In your sink, completely cover the rice with cold water and gently move around with your hand to remove some of the excess starch. Drain the water.
Add a small amount of water. Using your hand, gently move the grains against each other for about 8 seconds. Drain the water. Repeat 3 more times to polish the rice.
Completely cover with cold water and very gently move the grains around. Drain the water and repeat one more time. The drained water should be close to clear. Pour rice into a strainer over a mixing bowl to drain for 20 minutes. Place the rice in a 3 quart sauce pot along with the water and sake.
Bend kombu to break in half. Rinse briefly with cold water. Place one half into the pot. Cover with a lid and let sit 20 minutes to soak at room temperature.
After soaking, Cook covered on high heat to bring to a boil. Reduce heat to low and let barely simmer for 20 mins.
Meanwhile, place the rice vinegar in another small pot. Heat barely to a simmer. Mix in the sugar and salt, stirring until completely dissolved. Turn off heat and add kombu. Remove kombu when cooled completely at room temperature.
Measure 5 table spoons of the vinegar mixture and reserve to season your rice. The other half can be saved for later use.
After 20 minutes, turn off heat completely. Do not remove the lid. Let sit for 15 minutes to steam.
Wet a wooden cutting board with a damp towel. Remove any excess water. This will help the rice not stick you your board while mixing. Take off the lid to the rice. Remove the kombu. Gently spoon out the cooked rice onto the board being careful to not scrape any browned parts. Pour the sushi vinegar over the back of a wooden spatula while moving back and forth over the rice to evenly distribute the vinegar.
Using a cutting motion with the spatula cut through the rice at a 45 degree angle to break it up. Take care not to smash the grains, but gently break them apart. Flip sections of the rice over and cut again. When a uniform look is achieved, and there are no clumps of rice, fan over the rice a few times. Flip all of the rice over gently, cut again to even out, and fan a few times. Repeat one more time.
Scoop the rice into a bowl or thermal container. Cover with a barely damp towel. Let rest until the temperature is about 100 degrees, or just above body temperature, before using.
Note: Sushi rice varies depending on when it was harvested. If it was recently harvested, the higher moisture content will result in needing less water in the recipe. On the other hand, rice that has been in a bag for a while will require more. If the texture is either too soft or dry, try adding a little more or less water in ounce increments to find the perfect texture.
And for those days when you simply don’t feel like cooking, The Philadelphia Inquirer has a comprehensive list of area restaurants who are offering takeout and delivery!
Back to Blog

